This guide introduces your Oster 5838 automatic bread maker. It’s essential for understanding operations, from initial setup to baking cycles, ensuring a top-rated experience for all users. Explore its features for perfect loaves.
Identifying Your Oster 5838 Bread Maker Model
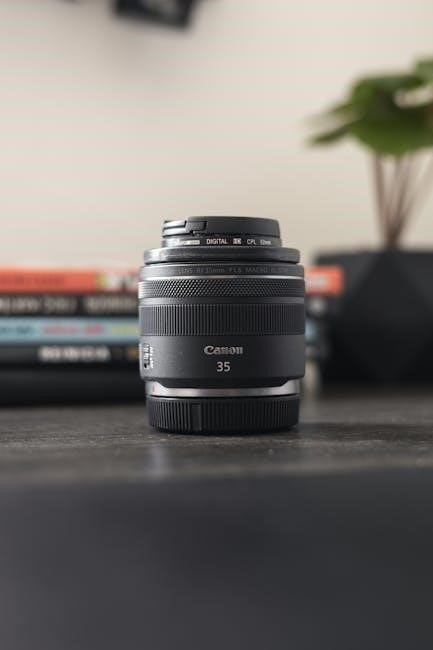
Accurately identifying your Oster 5838 bread maker model is the foundational step before delving into its operational manual or any maintenance guides. To confirm you possess the specific 5838 model, begin by inspecting the appliance itself. Typically, a label containing the model number is located on the underside of the unit or on its back panel. Search for prominent markings such as “Oster 5838” or “Expressbake 5838.” This distinct numbering is crucial. If the physical label is worn or missing, cross-reference with your original purchase receipt or product packaging, which often explicitly lists the model. Recognising the correct model ensures you access the appropriate instructions, avoiding potential confusion with other Oster bread machine variants, like those mentioned in “Oster bread machine 5838 shop” or “Oster 5838 new arrivals” listings online. This verification is paramount for correct usage, troubleshooting, and when considering replacement parts or accessories. Precise identification is the key to unlocking the full potential and longevity of your appliance.
Understanding the “Top” Rating of the Oster Manual
The “top” rating often associated with the Oster 5838 bread maker manual, frequently seen in references like “Oster bread maker manual top,” signifies its superior design and utility. This acclaim points to its exceptional clarity and thoroughness, establishing it as an essential guide for all owners. A top manual demystifies bread-making, enabling even novices to confidently operate their appliance. It offers precise, easy-to-follow instructions, from accurate ingredient measurement to program selection. Furthermore, it includes crucial safety information and practical tips, enhancing the baking experience. Its logical structure, with clear visuals, ensures users quickly locate needed information. This comprehensive, accessible content empowers owners to fully utilize their Oster 5838, achieving consistent perfect results and deep baking satisfaction.
Oster Expressbake 5838 Features
This appliance offers innovative features for diverse baking needs. The Oster 5838 Expressbake delivers quick, fresh bread thanks to its specialized cycle. It’s designed for user convenience, making homemade loaves accessible and efficient for every kitchen.
Exploring the Oster Expressbake Bread Maker
The Oster Expressbake 5838 bread maker is a highly sought-after appliance, frequently appearing in “new arrivals” and “shop” listings across various domains. This model is celebrated for bringing the joy of freshly baked bread directly into your home with remarkable ease. It stands out in the market, often featured in “cheap sale” and general “sales” promotions, indicating its widespread availability and consumer interest. Users exploring this bread maker will discover a compact yet powerful machine designed to simplify the bread-making process. Its robust construction ensures durability, while its intuitive controls make it accessible even for novice bakers. The Expressbake 5838 is engineered to handle a variety of recipes, from basic white loaves to more complex whole-wheat options, providing consistent results. Many online sources, including product pages and reviews, highlight its efficiency and ability to produce delicious bread. Whether new or “used,” this Oster bread maker continues to be a reliable choice for enthusiasts looking for quality and convenience.
The Specifics of the 58-Minute Expressbake Cycle
The cornerstone feature of the Oster 5838 Expressbake bread maker is its revolutionary 58-minute Expressbake cycle. This accelerated program is specifically designed for times when you need fresh, homemade bread in a hurry, providing unparalleled convenience. Unlike traditional bread cycles that can extend for several hours, this rapid setting drastically cuts down the baking time without compromising on the essential stages of kneading, rising, and baking. It utilizes a precise combination of optimized ingredient mixing and higher baking temperatures to achieve a beautifully risen and golden-brown loaf in under an hour. This unique capability makes the Oster 5838 an excellent choice for busy households or spontaneous meal preparations, ensuring warm bread is always within reach. Online resources, including dedicated YouTube videos like “Oster 5838 58-Minute Expressbake Breadmaker,” frequently highlight this impressive function, demonstrating its efficiency and the quality of quick bread it produces. Mastering this cycle, as guided by the manual, ensures you can regularly enjoy fast, delicious results, perfectly leveraging the appliance’s core innovation for everyday use.

Accessing the Oster 5838 Bread Machine Manual
Accessing the Oster 5838 bread machine manual is essential for optimal use. It provides crucial instructions for setup, operation, and maintenance, ensuring you maximize your appliance’s potential for delicious, homemade bread.
Finding Your Oster 5838 Manual
Online Sources for the 5838 Bread Maker Manual
Considering “Cheap” Options for the 5838 Manual
When seeking the Oster 5838 bread maker manual, “cheap” options typically refer to readily available, cost-free digital versions rather than purchasing a physical copy. The most economical approach is to utilize numerous online repositories that offer the manual for download without charge. Many domains, appearing in searches for “oster 5838 bread machine manual Cheap,” are actually directing users to free PDF downloads or discussions about the machine itself. It’s generally unnecessary to pay for a digital manual, as manufacturers and various community archives provide these documents freely. Websites like www.internetteders.com or mecametal.com.tr, even if they list “cheap” or “discount” alongside the manual, are likely indicators of widespread availability, often at no cost. Users should exercise caution before paying for a manual that is freely distributed online. Accessing these free versions ensures you get the full operational guidance, recipes, and troubleshooting tips without financial outlay, maximizing the value of your Oster 5838 bread maker purchase through readily available resources. Always prioritize official or reputable archival sites for accuracy and completeness.

Cleaning and Maintenance for the Oster 5838
Maintaining your Oster 5838 bread maker is vital for its longevity and performance. The manual provides essential “clean up” procedures and care tips, ensuring consistent, delicious results. Proper upkeep prevents common issues.
Essential “Clean Up” Procedures for the 5838
Essential “clean up” procedures for your Oster 5838 bread maker ensure its longevity and hygienic operation. After each use, always unplug the unit and allow it to cool fully. The manual directs you to remove and hand-wash the bread pan and kneading paddle with warm, soapy water and a soft cloth. Crucially, avoid abrasive cleaners to protect the non-stick coating. Rinse components thoroughly and dry completely before replacing. Wipe the main unit’s exterior with a damp cloth; never immerse the housing in water to prevent electrical damage. Regularly inspect for and remove any crumbs or dough residue from all surfaces. Following these simple steps, as detailed in the Oster 5838 manual, guarantees peak performance, consistent delicious bread, and extends your appliance’s life.

Maintenance for a Used Oster 5838 Expressbake Bread Maker
Maintaining a used Oster 5838 Expressbake bread maker requires diligent attention to ensure its continued performance; Begin by thoroughly inspecting the bread pan for scratches or worn non-stick coating, which affects bread release. Check the kneading paddle for any damage or excessive play on its shaft; a loose paddle indicates wear. The main heating element area should be free of burnt-on residue, which causes uneven baking. Pay close attention to the seal around the lid for cracks or degradation, as this impacts heat retention. For electrical safety, examine the power cord for fraying or cuts. After a deep clean, as outlined in the “Clean Up” procedures, consider applying a food-grade lubricant to the paddle shaft if stiff. Always consult the Oster 5838 manual for specific replacement part numbers or professional servicing advice, especially if you notice significant operational issues or unusual noises. Proper maintenance helps restore and preserve the efficiency of your pre-owned appliance, allowing you to continue enjoying homemade bread.
Initial “Te” Aspects of 5838 Maintenance
For the initial “Te” (technical/testing) aspects of your Oster 5838 bread maker’s maintenance, particularly if it’s a new arrival or a recently acquired unit, several examinations are crucial before its first use. Start by thoroughly testing all removable components. Ensure the bread pan fits securely into the baking chamber and the kneading paddle is correctly attached to its shaft, rotating freely. Verify that the power cord is undamaged and connects firmly to both the machine and a suitable power outlet. Perform a preliminary test run without ingredients; this “empty” cycle allows you to listen for unusual noises, confirm the heating element activates, and observe the paddle’s movement. This initial technical check helps identify any manufacturing defects or transit damage. Also, ensure the ventilation openings are clear. Consulting the manual for recommended first-time setup procedures, which often include a brief pre-heating or cleaning cycle, is vital. This foundational “testing” ensures your Oster 5838 is in optimal working condition from the outset, setting the stage for reliable future performance.

Operational Guidance for the Oster 5838
This guide outlines essential steps for operating your Oster 5838 bread maker. Learn to properly load ingredients, select programs, and initiate cycles for consistently perfect, homemade loaves.
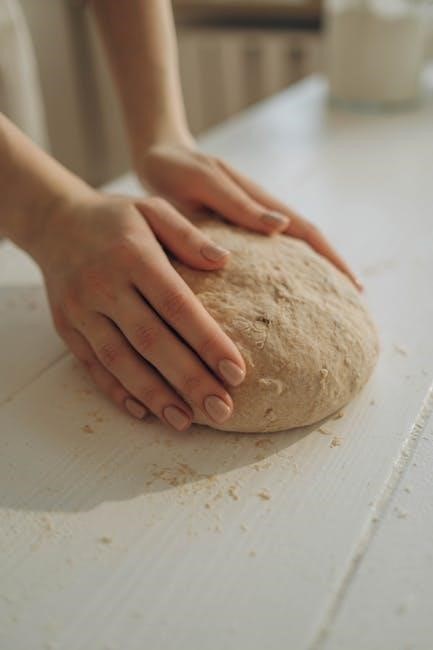
General Bread Making with the Oster 5838
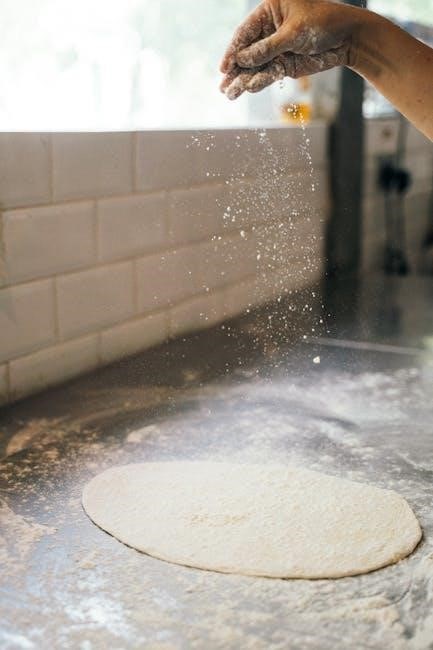
For general bread making with your Oster 5838, accurate ingredient measurement is crucial for success. Begin by adding liquids to the bread pan, followed by dry ingredients, ensuring yeast is placed last, separate from wet components and salt. Confirm the kneading paddle is correctly seated. Insert the bread pan securely into the machine. Power on the Oster 5838. Use the control panel to select your desired bread cycle, such as “Basic” or “Whole Wheat,” matching your specific recipe. Adjust the crust color (light, medium, dark) and specify loaf size if applicable. Press “Start” to initiate the automated process. The machine efficiently manages preheating, kneading, rising, and baking cycles. Listen for beeps for adding supplementary ingredients like fruits or nuts. Once complete, carefully remove the hot bread pan with oven mitts. Invert to release the loaf onto a wire rack, allowing it to cool fully. Proper cooling enhances texture and taste before slicing, ensuring a delightful homemade baking experience.
Leveraging the Expressbake Function for Quick Bread
The Oster 5838’s Expressbake function is a standout feature, allowing you to produce a freshly baked loaf in approximately 58 minutes. This rapid cycle is perfect for when you need bread quickly, making it a highly convenient option for busy households. To utilize this expedited program, ensure your recipe is specifically formulated for a quick bake cycle, as standard bread recipes may not yield optimal results due to the condensed process. Begin by adding ingredients precisely, typically warm water, quick-rise yeast, flour, sugar, salt, and oil, in the order specified in the manual for Expressbake. Select the “Expressbake” setting on the control panel, often designated with a dedicated button or program number. Confirm the crust color and loaf size if those options are available for this specific cycle. Initiate the process, and the machine will rapidly complete all phases from kneading to baking. This function is ideal for simple white or wheat breads, providing delicious results without the traditional longer waiting times.

Troubleshooting and Performance of the Oster 5838
This section addresses common issues and performance queries for your Oster 5838 bread maker. Learn to diagnose problems like poor rising or dense loaves and implement solutions to ensure consistent, high-quality baking results every time.
Addressing Common Bread Maker Issues
Encountering problems with your Oster 5838 can be frustrating, but many common bread maker issues have straightforward solutions. If your bread doesn’t rise adequately, first check the freshness of your yeast and ensure the water temperature is correct (around 105-115°F). Old or inactive yeast is a frequent culprit. Conversely, if your loaf rises excessively and then collapses, you might be using too much yeast, too much liquid, or insufficient flour. Adjust ingredient ratios carefully, strictly adhering to the manual’s recipes. For dough that appears overly sticky or wet, a slight increase in flour can often resolve it, whereas dry or crumbly bread typically indicates a need for more liquid. Always measure ingredients accurately, preferably by weight, for optimal results. Ensure the kneading paddle is correctly installed and free from obstructions. If the machine fails to start, verify it’s securely plugged in and the correct baking cycle is selected. Consulting the “Oster bread maker manual top” troubleshooting charts can prevent many common baking mishaps with your Oster 5838 Expressbake model.
Optimizing Your Oster 5838 Experience
To truly elevate your baking with the Oster 5838, optimizing your approach extends beyond basic operation. Consult the comprehensive “Oster bread maker manual top” for advanced techniques and specific recipe adjustments. Prioritizing fresh, high-quality ingredients is paramount; ensure your yeast is active and flour is stored correctly. Experiment with different cycles beyond the rapid 58-minute Expressbake, exploring options for whole wheat, sweet, or gluten-free breads to broaden your repertoire. Adjusting ingredient quantities slightly based on environmental factors like humidity can significantly improve loaf consistency. For instance, a touch more liquid in dry climates or less in humid ones. Furthermore, understanding the optimal timing for adding mix-ins like nuts or fruits, usually signaled by the machine, prevents them from being over-kneaded. Regular, gentle maintenance of the bread pan and paddle, as often discussed for a “used Oster 5838 Expressbake,” ensures smooth operation and prolongs the appliance’s lifespan, contributing to consistently delicious results every time you bake.