Camera shots are fundamental elements in visual storytelling, conveying emotions and establishing scenes․ This guide explores shot sizes, angles, and movements, helping filmmakers craft compelling narratives through cinematography․
1․1 Importance of Camera Shots in Visual Storytelling
Camera shots are essential for conveying emotions, setting the tone, and guiding the audience’s focus․ They help establish context, highlight details, and create visual hierarchy․ From close-ups that emphasize emotions to wide shots that reveal environments, each shot type plays a crucial role in shaping the narrative and immersing viewers in the story․
1․2 Brief Overview of Shot Types and Angles
Camera shots and angles offer a variety of ways to frame scenes․ Common shot types include extreme long shots for establishing settings, long shots for full views, medium shots for balanced composition, close-ups for details, and extreme close-ups for intense focus․ Angles like eye-level, high-angle, low-angle, bird’s eye, and worm’s eye view add depth and emotional context, enhancing visual storytelling․

Basic Camera Shot Sizes
Camera shot sizes determine how much of the scene is captured, from extreme long shots to extreme close-ups, each serving a unique purpose in storytelling and composition․
2․1 Extreme Long Shot (ELS)
The Extreme Long Shot captures the entire scene from a great distance, establishing the setting and providing context․ It often includes the environment, helping viewers understand the scene’s scale and location, while setting the tone for the narrative effectively․
2․2 Long Shot (LS)
The Long Shot frames the subject fully, showing their entire body within the environment․ It’s ideal for capturing character movements and interactions, while maintaining context of the setting․ This shot balances detail and space, making it versatile for both action scenes and establishing moments in storytelling effectively․
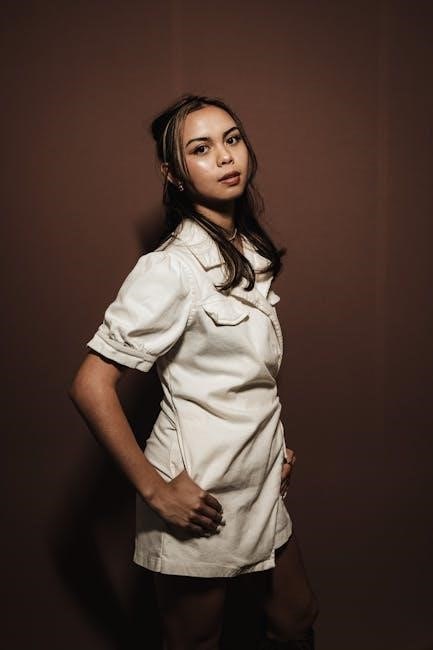
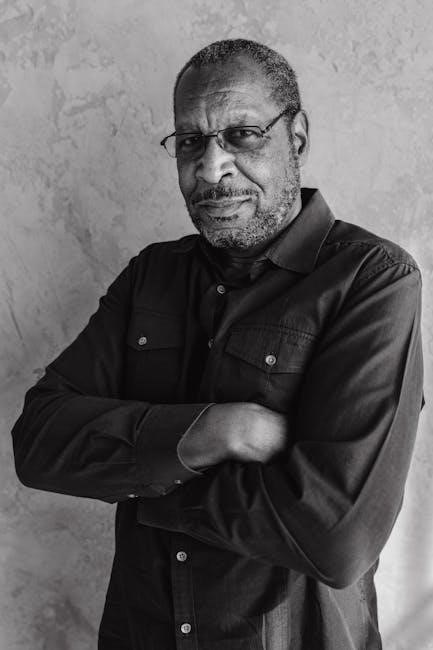
2․3 Medium Shot (MS)
The Medium Shot frames the subject from the waist up, capturing facial expressions and body language while maintaining environmental context․ It’s widely used in dialogue scenes, balancing character emotion with setting details․ This versatility makes the MS a foundational choice in storytelling, enhancing both visual and narrative elements effectively in filmmaking․
2․4 Close-Up Shot (CU)
The Close-Up Shot focuses tightly on a subject’s face or object, emphasizing emotions, textures, or details․ It isolates the subject from the environment, creating intimacy and drawing the audience’s attention to specific elements․ Often used to convey intense emotions or crucial plot points, the CU is a powerful tool in visual storytelling and character development․
2․5 Extreme Close-Up Shot (ECU)
The Extreme Close-Up Shot focuses intensely on a specific detail, such as eyes, lips, or small objects․ It amplifies emotions, textures, or subtle actions, creating a profound visual impact․ Often used to emphasize key moments or object details, the ECU draws the audience’s attention to what’s most critical, enhancing storytelling and emotional depth in filmmaking and photography․
Camera Angles and Their Impact
Camera angles significantly influence the viewer’s perception and emotional response․ They establish mood, create visual hierarchy, and guide audience focus, enhancing storytelling dynamics in film․
3․1 Eye-Level Shot
An eye-level shot captures subjects from their natural height, creating a neutral, realistic perspective․ It immerses viewers in the scene, aligning their viewpoint with the subject’s, making it ideal for establishing character emotions and reactions without imposing a specific mood․
3․2 High-Angle Shot
A high-angle shot frames the subject from above, often creating a sense of vulnerability or inferiority․ This perspective can emphasize power dynamics, with the subject appearing smaller or more exposed, drawing the audience’s empathy and highlighting the character’s emotional state or situational weakness․
3․3 Low-Angle Shot
A low-angle shot captures the subject from below, often imparting a sense of power, heroism, or dominance․ This perspective can create awe or intimidation, as the subject appears larger and more imposing․ It’s frequently used to emphasize strength or authority, drawing the audience’s attention to the character’s presence and emotional significance in the scene․
3․4 Bird’s Eye View
A bird’s eye view shot captures the subject from directly above, often creating a sense of scale and grandeur․ It provides a wide perspective, helping to establish the environment and the subject’s place within it․ This shot is commonly used to showcase landscapes or action scenes, offering a unique visual narrative and emphasizing the subject’s relation to its surroundings․
3․5 Worm’s Eye View
A worm’s eye view shot frames the subject from below, creating a sense of awe or intimidation․ It emphasizes height and power, often used to highlight dominance or heroism․ This perspective adds emotional depth, making characters or objects appear larger-than-life․ It’s commonly used in dramatic scenes to evoke a strong visual impact and establish a character’s significance within the narrative․
Camera Movements and Techniques
Camera movements and techniques are essential storytelling tools, enhancing emotional impact and visual depth․ Techniques like dolly zoom, tracking, pan, tilt, and crane shots create dynamic, engaging scenes․
4․1 Dolly Zoom
The dolly zoom is a dynamic technique combining forward camera movement with a zoom in the opposite direction․ This creates a visually striking effect, altering perspective and emphasizing emotions․ It adds depth, distorts space, and draws focus to the subject while adding a sense of tension or unease in a scene, enhancing storytelling impact effectively․
4․2 Tracking Shot
A tracking shot involves moving the camera alongside a subject, maintaining focus while creating dynamic, immersive scenes․ It can follow characters, objects, or action, adding depth and engagement․ This technique keeps the subject prominent, guiding viewer attention and enhancing storytelling by linking movements with narrative progression seamlessly․
4․3 Pan
A pan shot involves moving the camera horizontally from left to right or right to left, often used to reveal landscapes or follow action․ This smooth movement captures wide scenes, maintaining focus on the subject while showcasing the environment․ Panning adds visual context and depth, enhancing storytelling by linking elements within a frame dynamically․
4․4 Tilt
A tilt shot involves moving the camera vertically, either upwards or downwards, to reveal or emphasize elements within the scene․ This technique is often used to highlight the scale of a subject, create dramatic effects, or shift focus between objects․ Tilting adds depth and dynamism, guiding the audience’s attention to specific details or actions within the frame effectively․
4․5 Crane Shot
A crane shot involves lifting the camera high above the scene or lowering it significantly, often to emphasize scale or create dramatic perspective․ This technique showcases the environment’s grandeur, adds emotional depth, and provides a dynamic transition between shots, making it a powerful tool for enhancing visual storytelling in filmmaking;
Framing and Composition Techniques
Framing and composition are essential tools for guiding viewer focus, creating balance, and enhancing visual storytelling․ Techniques like the rule of thirds and leading lines help direct attention effectively․
5․1 Rule of Thirds
The rule of thirds divides the frame into a 3×3 grid, placing key elements along the lines or intersections to create balanced and visually engaging compositions․ This technique avoids centering subjects, enhancing dynamic and professional-looking shots in films and photography, as discussed in various guides on camera shots and composition․
5․2 Leading Lines
Leading lines are visual elements that guide the viewer’s eye toward the subject, enhancing depth and focus․ Roads, paths, or natural patterns can serve as leading lines, creating a sense of direction and balance in the frame․ This technique emphasizes storytelling by drawing attention to key elements, making compositions more engaging and professional․
5․3 Symmetry and Balance
Symmetry and balance enhance visual harmony by arranging elements evenly․ Symmetry mirrors elements on either side, creating order, while balance distributes visual weight across the frame․ These techniques ensure no single element dominates, guiding the viewer’s eye naturally and creating a polished, professional composition that engages and directs attention effectively in storytelling․
Lighting and Depth of Field
Lighting and depth of field control focus and atmosphere, with shallow depth isolating subjects and deep depth sharpening backgrounds, enhancing visual storytelling through precise focus manipulation․
6․1 Shallow Depth of Field
A shallow depth of field isolates subjects by blurring the background, focusing attention on the foreground․ This technique emphasizes details, creating a professional, cinematic look․ Used often in close-ups and portraits, it separates objects from their surroundings, enhancing visual storytelling through selective focus and atmosphere․
6․2 Deep Depth of Field
A deep depth of field keeps both the foreground and background in sharp focus, providing context and detail․ Often used in landscapes or group shots, it emphasizes the environment and relationships between elements, enhancing storytelling by offering a broader visual perspective and drawing the audience into the scene․

Practical Tips for Filmmakers
Mastering camera shots enhances visual storytelling․ Select shots that align with your narrative, avoid common mistakes, and experiment with techniques to captivate your audience effectively․
7․1 Best Practices for Selecting Shots
Align shots with your narrative goals, using storyboards to plan visuals․ Consider lighting, angles, and depth of field to evoke emotions․ Experiment with techniques like close-ups for intimacy or wide shots for context․ Review footage to ensure consistency and clarity, enhancing the storytelling process effectively․
7․2 Avoiding Common Mistakes
Avoid improper framing, such as cutting subjects at joints, and ensure consistent lighting․ Steer clear of excessive camera movements that distract from the scene․ Prevent shaky footage by using tripods or stabilizers․ Avoid overusing close-ups, as they can disorient viewers․ Ensure focus is sharp, especially in critical moments, to maintain visual clarity and emotional impact in your storytelling․
Mastering camera shots enhances storytelling․ Explore resources like PDF guides, eBooks, and online courses to deepen your understanding and refine your filmmaking techniques effectively․
8․1 Summary of Key Takeaways
Mastering camera shots is essential for visual storytelling․ Key takeaways include understanding shot sizes, angles, and movements, as well as framing and lighting techniques․ These elements help convey emotions, establish settings, and guide viewer focus․ Practical tips and avoiding common mistakes ensure effective storytelling․ Exploring additional resources like PDF guides and courses can further enhance your filmmaking skills and knowledge․
8․2 Recommended Reading and Tools
Expand your knowledge with resources like “Master Shots” by Christopher Kenworthy and comprehensive PDF guides․ Tools include camera shot lists, filmmaking apps, and video templates․ Websites like Enchanted Media offer professional templates for After Effects and Premiere Pro, aiding in creating polished visuals․ These resources help refine your cinematography skills and enhance your storytelling capabilities effectively․