Social Emotional Learning (SEL) is a framework focusing on core skills like self-awareness, empathy, and decision-making, essential for students’ academic success and well-being. It integrates emotional intelligence into education, fostering holistic development and positive relationships. SEL curricula empower students to navigate challenges, building resilience and lifelong skills. Its importance lies in creating supportive environments where students thrive academically, socially, and emotionally.
1.1 Definition and Importance of SEL
Social Emotional Learning (SEL) is a framework that focuses on developing essential life skills such as self-awareness, self-management, social awareness, relationship skills, and responsible decision-making. These competencies are vital for students’ overall well-being, academic success, and positive interactions with others. SEL helps students understand and manage emotions, build strong relationships, and make informed decisions. By integrating SEL into education, schools foster a supportive environment that promotes mental health, reduces behavioral challenges, and prepares students for future successes. Its importance lies in its ability to create resilient, empathetic, and socially responsible individuals.
1.2 The Role of SEL in Modern Education
In modern education, SEL serves as a cornerstone for fostering holistic student development. By addressing emotional and social growth, SEL complements academic instruction, creating well-rounded learners. It equips students with skills to navigate challenges, collaborate effectively, and build positive relationships. SEL also supports teachers in creating inclusive classrooms, addressing diverse needs, and promoting mental health. Its integration into curricula ensures students are prepared for future challenges, both academically and personally, making it a vital component of 21st-century education.
Core Competencies of Social Emotional Learning
Social Emotional Learning (SEL) focuses on five core competencies: self-awareness, self-management, social awareness, relationship skills, and responsible decision-making. These skills empower students to manage emotions, empathize, communicate effectively, and make sound choices, fostering academic success and overall well-being.
2.1 Self-Awareness and Self-Management
Self-awareness involves recognizing one’s emotions, strengths, and weaknesses, while self-management focuses on regulating emotions and behaviors. These skills help students understand their motivations, set goals, and develop resilience. By teaching self-awareness and self-management, SEL curricula empower students to monitor progress, manage stress, and make informed decisions. These competencies are foundational for academic success and personal growth, enabling students to navigate challenges with confidence and emotional stability.
2.2 Social Awareness and Relationship Skills
Social awareness involves understanding and empathizing with others’ perspectives, while relationship skills focus on building positive connections. SEL curricula teach students to recognize diversity, respect others’ feelings, and engage in constructive communication. These skills foster collaboration, reduce conflicts, and promote inclusivity. By enhancing social awareness and relationship skills, students learn to navigate interpersonal dynamics effectively, creating supportive environments that encourage mutual respect and empathy;
2.3 Responsible Decision-Making
Responsible decision-making is a critical SEL competency, enabling students to make informed choices by considering ethical, social, and personal consequences. Curricula emphasize analyzing situations, identifying solutions, and reflecting on outcomes. This skill helps students navigate real-world challenges, balancing personal well-being with social responsibility. By fostering responsible decision-making, SEL equips students to act thoughtfully and contribute positively to their communities.

Designing an Effective SEL Curriculum
Designing an effective SEL curriculum involves creating a comprehensive, evidence-based framework that fosters social and emotional growth. It requires alignment with academic standards, teacher training, and cultural relevance to ensure impactful learning experiences for all students.
3.1 Key Components of an SEL Curriculum
A well-structured SEL curriculum includes core competencies like self-awareness, social skills, and decision-making. It should offer evidence-based lessons, age-appropriate activities, and opportunities for reflection. Cultural relevance and inclusivity are crucial to ensure all students feel represented. The curriculum should also provide teacher support materials, such as lesson plans and assessment tools. Integration with academic subjects and real-world applications enhances effectiveness. Finally, it should foster collaboration among students, families, and communities to create a supportive learning environment that promotes social-emotional growth and academic success.
3.2 Aligning SEL with Academic Standards
Aligning SEL with academic standards ensures that social-emotional skills complement and enhance students’ academic success. By integrating SEL into core subjects like math, reading, and science, educators can create a cohesive learning environment. SEL competencies, such as self-awareness and collaboration, directly support academic engagement and problem-solving. Schools can adapt SEL curricula to meet state and national standards, fostering both intellectual and emotional growth. This alignment not only improves academic outcomes but also prepares students to meet real-world challenges with confidence and resilience.
Implementation Strategies for SEL
Effective SEL implementation involves integrating SEL into daily activities, using evidence-based tools, and fostering a school-wide culture of social-emotional growth through professional development and parent partnerships.
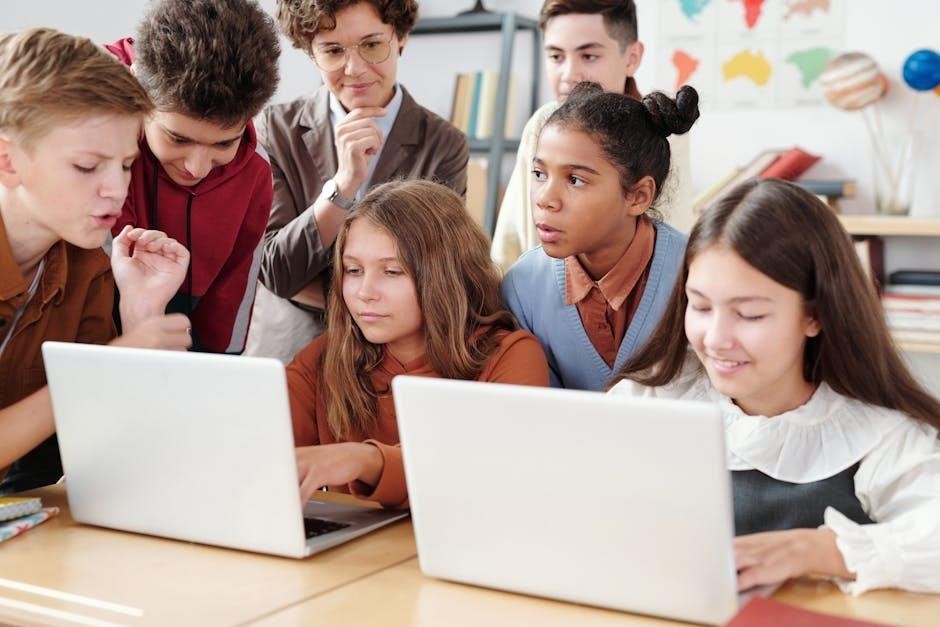
4.1 Integrating SEL into Classroom Activities
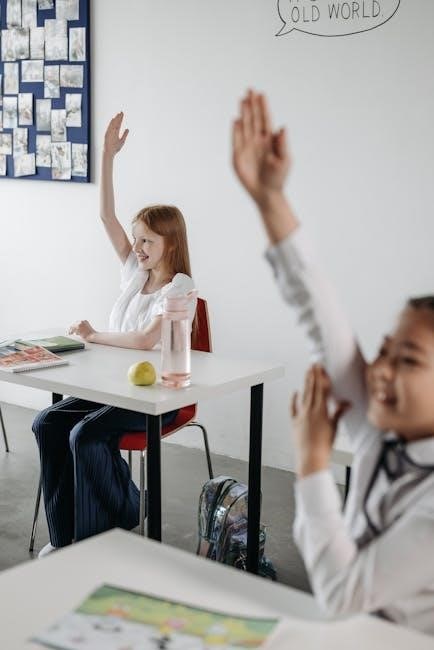
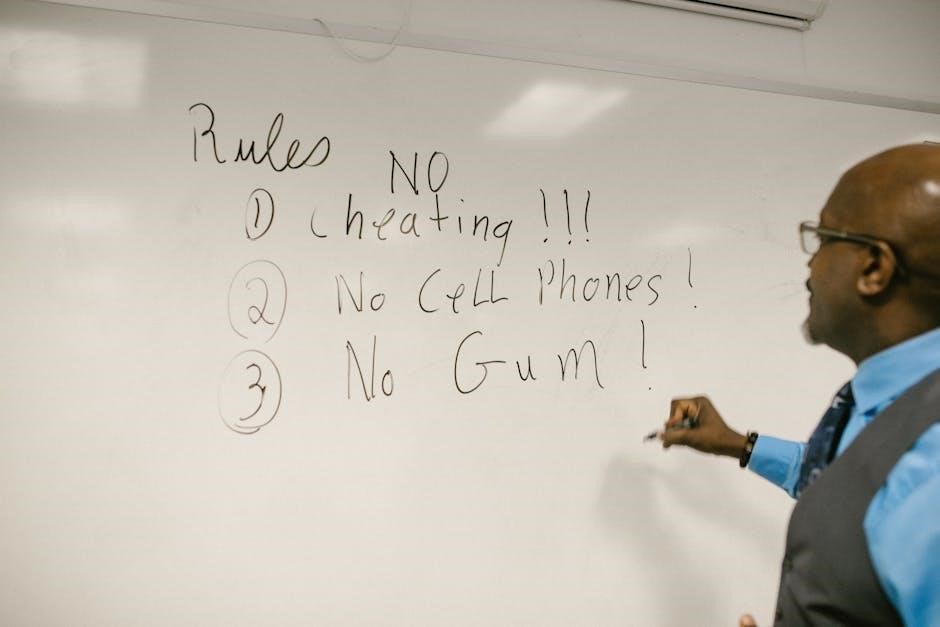
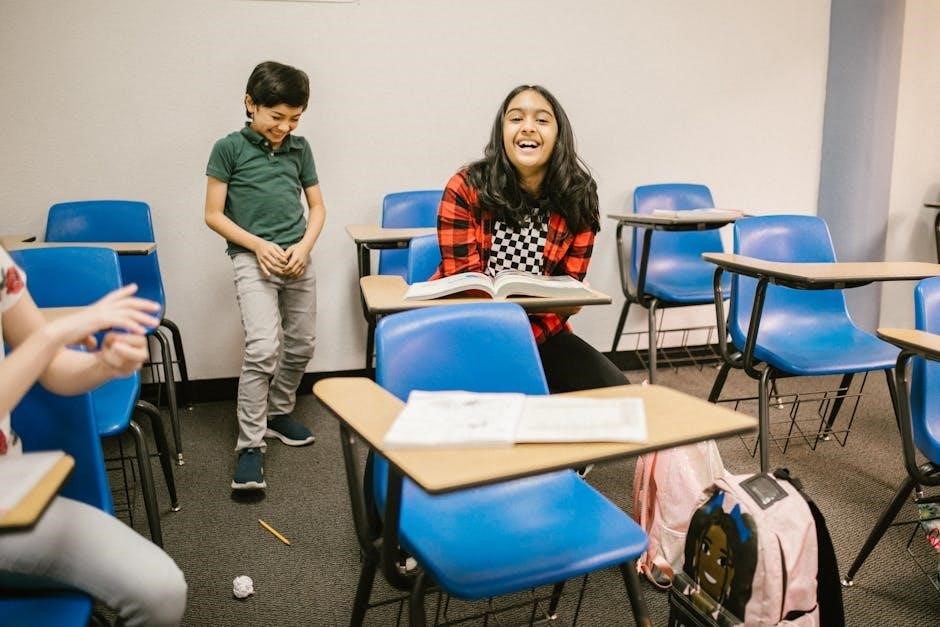
Integrating SEL into classroom activities involves incorporating social-emotional skills into daily lessons, fostering a supportive environment. Teachers can use group discussions, role-playing, and reflective exercises to promote self-awareness and empathy. SEL can be embedded in academic subjects, such as through literature that explores emotional themes or math problems requiring collaboration. Classroom climates are improved by encouraging open communication and respect, enabling students to practice relationship skills. Regular SEL-focused activities, like mindfulness practices or conflict-resolution exercises, help students develop emotional intelligence and resilience, preparing them for real-world challenges.
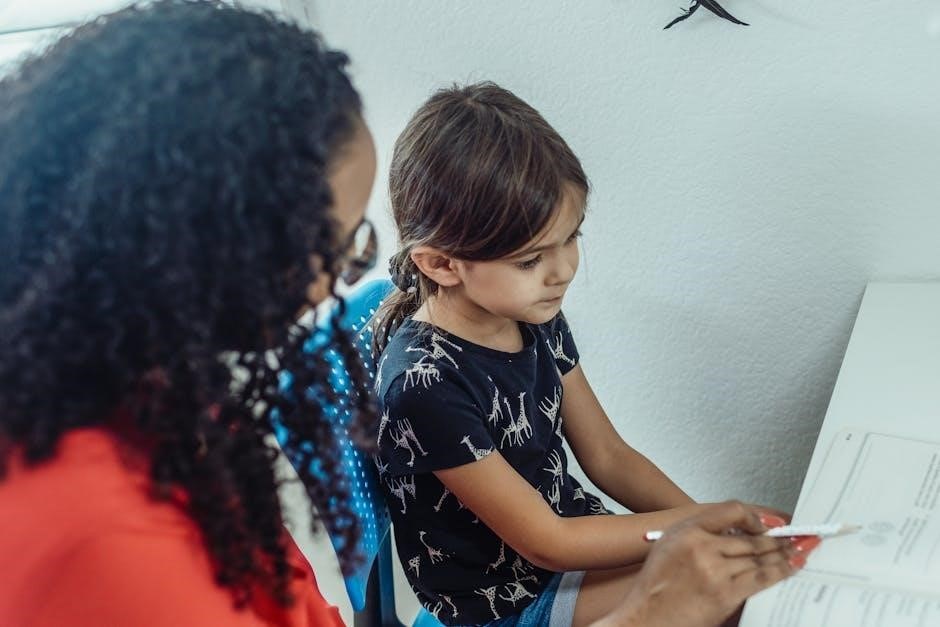
4.2 Age-Appropriate SEL Activities for Different Grades
SEL activities are tailored to students’ developmental stages, ensuring relevance and effectiveness. For younger grades, role-playing and group discussions focus on basic social skills and emotions. Middle school activities emphasize self-reflection, peer interactions, and conflict resolution. High school programs address complex issues like stress management, ethical decision-making, and leadership. Age-appropriate strategies ensure students build skills progressively, fostering emotional intelligence and social competence across all grade levels. These activities are designed to align with students’ cognitive and emotional growth, preparing them for real-world challenges.
Assessing and Evaluating SEL Programs
Evaluating SEL programs involves assessing student outcomes through surveys, observations, and performance metrics. Feedback from educators and students helps refine curricula, ensuring alignment with CASEL standards and fostering continuous improvement.
5.1 Measuring the Effectiveness of SEL
Measuring SEL effectiveness involves using standardized tools and data collection methods to assess skill development. Surveys, observations, and performance metrics evaluate emotional literacy, relationship skills, and decision-making abilities. Programs like the Second Step Program provide structured assessments to track progress. Feedback from educators and students helps identify strengths and areas for improvement. Regular evaluations ensure alignment with CASEL standards, fostering continuous refinement of SEL curricula. By monitoring outcomes, schools can determine the impact of SEL on student well-being and academic success, ensuring the curriculum meets its intended goals effectively.
5.2 Using Feedback to Improve SEL Curriculum
Feedback is crucial for enhancing SEL curricula. Educators, students, and parents provide insights through surveys, focus groups, and performance reviews. This data helps identify strengths and areas for improvement; By analyzing feedback, educators can refine activities, adjust lesson plans, and incorporate new strategies. Regular feedback loops ensure the curriculum remains relevant and effective, fostering better social-emotional outcomes; Continuous improvement based on stakeholder input ensures the SEL program evolves to meet the changing needs of students, promoting long-term success and well-being.
Real-World Applications of SEL
Schools worldwide implement SEL through programs like Second Step, fostering social skills and emotional growth. Lesson plans, classroom activities, and community engagement create practical learning opportunities for students.
6.1 Case Studies of Successful SEL Implementation
Case studies highlight schools like Mendham Township, which integrated SEL curricula, resulting in improved student behavior and academic performance. The Second Step Program, widely adopted, fosters social skills and emotional growth. Educators report reduced conflicts and increased empathy among students. Successful implementations often involve teacher training, parent engagement, and aligned assessments. These real-world examples demonstrate how SEL curricula can transform school climates, promoting student well-being and academic success. Such case studies serve as models for effective SEL integration in diverse educational settings.
6.2 The Impact of SEL on Student Well-Being and Academic Performance
Social Emotional Learning significantly enhances student well-being by fostering emotional resilience, reducing anxiety, and improving relationships. Academically, SEL boosts engagement, focus, and problem-solving skills, leading to better academic outcomes. Studies show that students who participate in SEL programs often demonstrate improved grades and test scores. By addressing emotional and social needs, SEL creates a supportive learning environment, enabling students to thrive both personally and academically. The long-term benefits of SEL contribute to healthier, more productive, and successful individuals.
Future Trends in Social Emotional Learning
Future trends in SEL include technology integration, personalized learning, cultural relevance, and community partnerships, enhancing accessibility and adaptability for diverse student needs and global challenges.
7.1 Innovations in SEL Curriculum Design
Innovations in SEL curriculum design include integrating technology, such as AI-driven platforms, to personalize learning experiences and provide real-time feedback. Digital tools now offer interactive modules that cater to diverse learning styles, enhancing engagement. Additionally, curricula are becoming more culturally responsive, ensuring inclusivity and relevance for all students. These advancements aim to bridge gaps in traditional SEL approaches, fostering deeper skill development and adaptability to modern challenges. Innovations also emphasize community involvement, creating holistic learning environments that extend beyond classrooms, preparing students for global citizenship and lifelong success.
7.2 The Role of Technology in Advancing SEL
Technology plays a pivotal role in advancing SEL by providing interactive tools and digital platforms that enhance engagement and accessibility. AI-driven programs offer personalized learning paths, catering to individual needs. Virtual reality (VR) and augmented reality (AR) create immersive experiences, helping students practice social skills in simulated environments. Apps like Second Step and Mind Yeti deliver bite-sized SEL lessons, making learning flexible. Technology also enables real-time feedback and progress tracking, allowing educators to refine their approaches. These innovations ensure SEL reaches diverse learners, fostering emotional intelligence and social competence effectively. They prepare students for a tech-driven future while addressing modern challenges.
Social Emotional Learning fosters well-being, resilience, and academic success, preparing students for life’s challenges. Continuous support for SEL ensures long-term benefits, empowering individuals to thrive emotionally and socially.
8.1 The Long-Term Benefits of SEL for Students
Social Emotional Learning (SEL) equips students with lifelong skills, enhancing emotional intelligence, resilience, and interpersonal relationships. These competencies foster academic success, better decision-making, and mental well-being. By cultivating self-awareness, empathy, and problem-solving abilities, SEL empowers students to navigate life’s challenges confidently. Long-term benefits include improved workplace readiness, stronger community connections, and a greater ability to manage stress. Investing in SEL ensures students thrive emotionally, socially, and academically, leading to a more fulfilling and purposeful life.
8.2 The Importance of Continuous Support for SEL
Continuous support for SEL is vital to sustain its positive impact on students. Ongoing professional development for educators ensures they remain equipped to teach SEL effectively. Schools must allocate resources to update SEL curricula, reflecting evolving student needs and research advancements. Community involvement and parental engagement further reinforce SEL principles, creating a cohesive support system. By prioritizing continuous support, schools foster a culture of emotional intelligence, empowering students to grow into compassionate, resilient, and socially aware individuals throughout their lives.