
Welcome to your pool table assembly guide! This comprehensive resource will walk you through the process of assembling your pool table safely and efficiently. Always follow the manufacturer’s instructions and consider professional help if unsure.
Safety Precautions and General Warnings
Before starting the assembly of your pool table, carefully read all safety precautions to ensure a safe and successful process. Always follow the manufacturer’s instructions and take necessary precautions to avoid accidents. Keep children and pets away from the assembly area, as heavy components and sharp edges can pose risks. Wear protective gear, such as gloves and safety glasses, when handling tools or lifting parts. Ensure the assembly area is clean, dry, and well-lit to prevent slips or trips. Never attempt to lift or move heavy components alone; always have at least one other adult to assist. If you feel unsure or uncomfortable with any step, consider hiring a professional to avoid potential damage or injury.
Tools and Materials Required for Assembly
To successfully assemble your pool table, gather the necessary tools and materials as specified in the manufacturer’s instructions. Common tools include a screwdriver, wrench, and Allen key for securing bolts and screws. A rubber mallet may be needed for gently tapping parts into place. Ensure you have a spirit level to ensure the table is properly leveled. Additional materials like protective padding, such as cardboard or carpet, can prevent surface damage during assembly. Check the packaging for any tools provided by the manufacturer. Always refer to the assembly manual for a detailed list of required tools to avoid missing any specific items; Proper preparation ensures a smooth and efficient assembly process.
Unpacking and Initial Preparation
Begin by carefully unpacking the pool table components, ensuring all parts are accounted for. Place protective materials like cardboard or carpet to safeguard surfaces during assembly.
Removing Packaging and Protective Covers
Carefully remove all packaging materials, including box tops and end protectors. Gently take off protective pads from the slate and other components to prevent damage. Use soft tools if necessary to avoid scratching surfaces. Ensure every part is free from wrapping without causing abrasion. This step ensures all elements are accessible for inspection and assembly. Properly dispose of all packaging to keep your workspace clean and organized. By carefully removing covers, you prevent potential damage and prepare components for the next steps in the assembly process. This meticulous approach sets the foundation for a successful installation. Always handle parts with care to maintain their quality and functionality.
Inspecting the Components and Parts
After unpacking, thoroughly inspect all components for damage or defects. Check the table legs, frame, slate, cushions, and pockets for any visible issues. Ensure the felt is undamaged and properly fitted. Verify that all hardware, such as bolts, screws, and nuts, are included and accounted for using the provided parts list. Inspect the rails and pockets for proper alignment and condition. Examine the slate surface for cracks or unevenness. Additionally, check the felt cloth for any tears or creases. If any components are damaged or missing, contact the manufacturer immediately. This step ensures all parts are in good condition before proceeding with assembly, preventing potential issues later on.
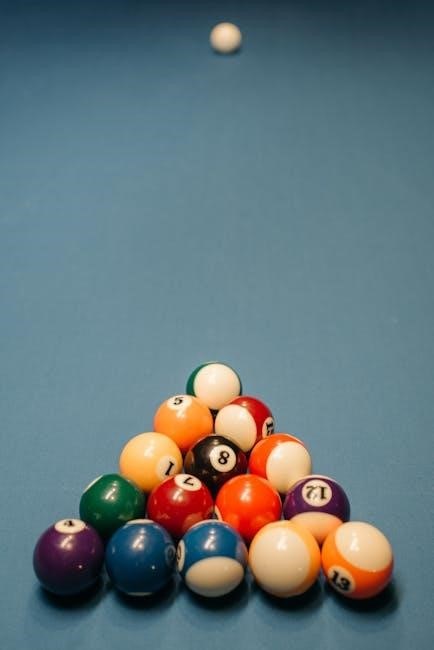
Step-by-Step Assembly Process
Begin by assembling the table legs and frame, then attach the rails and pockets. Install the slate and cushions, ensuring proper alignment and security. Follow the instructions carefully to achieve a sturdy and level pool table.
Assembling the Table Legs and Frame
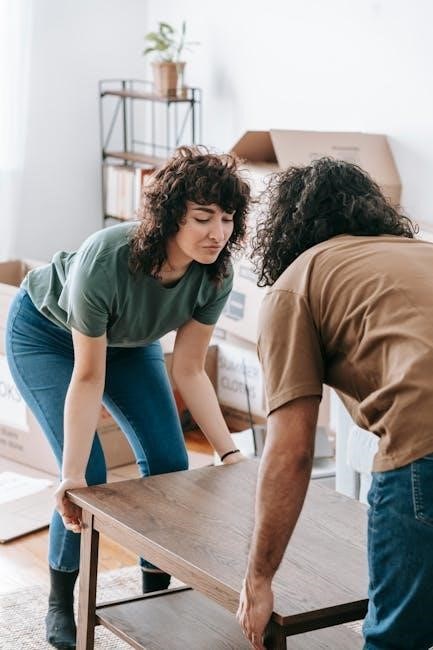
Start by unpacking the legs and frame components. Use a soft surface to prevent damage. Attach the legs to the table frame using the provided bolts and wrench. Ensure all connections are tight and sturdy. Next, connect the crossbeams to the frame for added stability. Double-check each bolt for proper tightening. If legs are uneven, adjust the levelers. Ensure the frame is square by measuring diagonally. A sturdy base is crucial for a level playing surface. Follow the manual’s diagrams for precise assembly. Two people are recommended for this step to handle the weight and align parts correctly. Safety and precision are key here.
Installing the Slate and Cushions
Attaching the Rails and Pockets
Once the frame and slate are securely in place, begin attaching the rails to the table. Align each rail with the designated mounting points on the slate and frame, ensuring they fit snugly. Use the provided screws to secure the rails tightly, making sure they are evenly spaced and aligned for consistent ball rebound. After the rails are installed, focus on attaching the pockets. Mount each pocket to the rail ends, ensuring they are level and properly aligned with the table’s edges. Tighten all screws firmly to prevent any movement during play. Finally, test the pockets by rolling balls into them to ensure smooth operation and proper ball return functionality. Properly attached rails and pockets are essential for a professional-grade pool table setup.

Final Adjustments and Leveling
Ensure the table is perfectly level by adjusting the legs. Use a spirit level to verify evenness across all surfaces. Tighten all components securely for stability.
Ensuring the Table is Level and Secure
Once the table is assembled, use a spirit level to ensure the surface is perfectly even. Check the table across multiple points, including the center and edges. If uneven, adjust the leg levelers or add shims under the legs as needed. Tighten all bolts and screws securely to prevent movement. Double-check the level after adjustments. A properly leveled table ensures accurate gameplay and prevents damage. For final verification, roll a ball across the surface to confirm it moves smoothly without drifting. Secure all components firmly to avoid shifting during use. Proper leveling and stability are crucial for optimal performance and longevity of your pool table.
Maintenance and Care Tips
Regularly clean the felt surface with a soft brush and avoid using harsh chemicals. Protect the table from direct sunlight and moisture to maintain its appearance and performance. Dust the pockets and cushions periodically to ensure smooth gameplay. Avoid placing heavy objects on the table, and store cues securely. By following these care tips, you can extend the lifespan of your pool table and keep it in excellent condition for years of enjoyment. Proper maintenance ensures optimal playability and preserves the table’s aesthetic appeal; Always handle the table with care to prevent damage and maintain its stability.
Cleaning the Felt and Protecting the Surface
Regular cleaning is essential to maintain the playability and appearance of your pool table. Use a soft-bristle brush daily to remove dust and chalk from the felt surface. For deeper cleaning, dampen a clean cloth with water and gently wipe the felt, avoiding harsh chemicals that could damage the material. Never use abrasive cleaners or scrubbers, as they can permanently harm the felt. For stubborn stains, apply a small amount of water-based cleaner specifically designed for pool table felt, then blot gently with a clean, damp cloth. Allow the surface to air dry completely before use.
Protect the surface from direct sunlight, moisture, and spills, as these can discolor or damage the felt. Use table covers when the table is not in play to prevent dust buildup and accidental damage. By following these care tips, you can ensure your pool table remains in optimal condition for years of enjoyment.
Troubleshooting Common Issues
- Check for loose parts and tighten hardware if necessary.
- Ensure the table is level; adjust leg levelers as needed.
- Inspect cushions and rails for proper alignment and secure attachment.
Addressing Uneven Surfaces or Loose Parts
If the table surface is uneven, check the leg levelers and adjust them to ensure stability. Tighten any loose bolts or screws, especially around the slate and frame. For loose parts, refer to the assembly manual to identify and secure them properly; Ensure the table is placed on a level floor or use shims if necessary. After adjustments, test the surface by rolling a ball; it should move smoothly without drifting. Regularly inspect and tighten all components to maintain the table’s integrity and performance. Addressing these issues promptly will ensure optimal playability and extend the lifespan of your pool table.
Once assembly is complete, inspect all components to ensure proper installation. Verify the table’s level, tighten any loose parts, and test the surface. Enjoy your new pool table!
Verifying All Components Are Properly Assembled
After completing the assembly, thoroughly inspect each component to ensure everything is correctly installed. Check the table legs, frame, slate, cushions, rails, and pockets for stability and alignment. Verify that all bolts and screws are tightened securely. Use a level to confirm the table surface is even and plumb. Test the responsiveness of the cushions by dropping a ball; it should bounce uniformly. Inspect the felt for any wrinkles or damage, ensuring it’s smoothly adhered. Finally, test the table by rolling a ball across the surface to ensure it travels straight. Address any issues before use to guarantee optimal performance and longevity.